
Create OG images for your blog with Next.js
Posted on November 7, 2022·
At the same time I released the new design for this blog using Next.js, Vercel announced a new library to generate OpenGraph (OG) images. You know, these images you can see when posting some links on Twitter:

Since my blog posts had a cover image associated, it sounded natural to me to use this image. But I often wonder if it was worth it to generate an image with additional content such as the post title or its date. It was pretty complicated to generate an image.
Fortunately, Vercel’s OG library now makes it much easier. Let’s see how by implementing OG image generation for an imaginary blog.
👉 If you are curious about Next.js and want to learn it, check out by book Serverless Web Applications with React and Next.js.
📺 If you prefer video content, I created a short video with the content of this post:
@vercel/og, satori, and Edge functions
Generating OG images is made possible by the @vercel/og library, itself relying on satori (also made by Vercel). This package allows you to create an image from HTML and CSS code (using JSX). @vercel/og adds a layer to make it easier to use, for instance by loading a default font so you don’t have to.
On the client, such generation does not sound complicated, and we’ve known how to do it for a long time using a canvas element. But on the server, you had to start a headless Chrome browser, which was complex and expensive. satori doesn’t work that way, and can generate images efficiently on the client, or in serverless functions.
Even better, it can run on Edge functions, and that is what @vercel/og does. Edge functions are a special kind of serverless functions, that are free from all the classic Node.js runtime features. You can only use the basic JavaScript features, from the V8 runtime, so Edge functions comes with some limitations, but are extremely fast, and their execution cheaper.
Generate an image with @vercel/og
You can follow this tutorial on any Next.js project. I’ll show how to start from an empty Next.js application, just generated with the command:
$ yarn create next-app hello-og --typescriptIn this project, we’ll use a serverless function to generate OG images, accessible at the endpoint /api/og. Let’s create it in a new /pages/api/og.tsx file.
import { NextRequest, NextResponse } from 'next/server'

export const config = {
  runtime: 'experimental-edge',
}

const handle = (req: NextRequest) => {
  return NextResponse.json({ hello: true })
}

export default handle
If you are used to serverless functions in Next.js, you might notice some differences:
- The exported
configobject. Here we tell Next.js that this function is an Edge function. - The
reqparameter does not have theNextApiRequesttype, butNextRequest. This is also because it’s an Edge function. - We return a response (instead of using a
resobject passed as parameter), of typeNextResponse.
Still, if you run the application and call the endpoint, you will get the expected JSON result, as with any classic function:
$ curl http://localhost:3000/api/og
{"hello":true}
Now let’s update this function to return an image using @vercel/og. We first need to add the dependency to our project with yarn add @vercel/og. Then we can generate a basic image containing the text “Hello World!”:
import { ImageResponse } from '@vercel/og'
// ...

const handle = (req: NextRequest) => {
  return new ImageResponse(
    <div>Hello World!</div>,
    // 1200x628 seems to be the right dimensions to use for OG images.
    { width: 1200, height: 628 }
  )
}
With these three lines of code returning an ImageResponse, we generate an image from React code. That sounds easy, right? You probably think “this is great, I can use all my React components!”… Well, it’s not that easy 😉.
Even though we use JSX here, it’s important to understand that it’s just a shorthand offered by satori (which seems to use React, but not React-DOM). The JSX code you write here has some constraints:
- Not all CSS properties are supported,
- Only
flexlayout is supported, and each element with multiple children must explicitely use (display: flex), - You can’t use
scriptorlinkelements, etc.
Knowing these constraints, we can still do a lot. A feature I love: you can use TailwindCSS classes natively, using the tw prop on elements (instead of className). If you prefer, you can use the classic style prop to specify CSS properties.
Let’s assume we want to display a post title, an author name, and a date that we’ll receive from query parameters. To get these parameters, we can’t use req.query: in Edge functions, we have to use req.url, that we can parse using the URL class:
const handle = (req: NextRequest) => {
const { searchParams } = new URL(req.url)
const title = searchParams.get('title') || 'No post title'
const author = searchParams.get('author') || 'Anonymous'
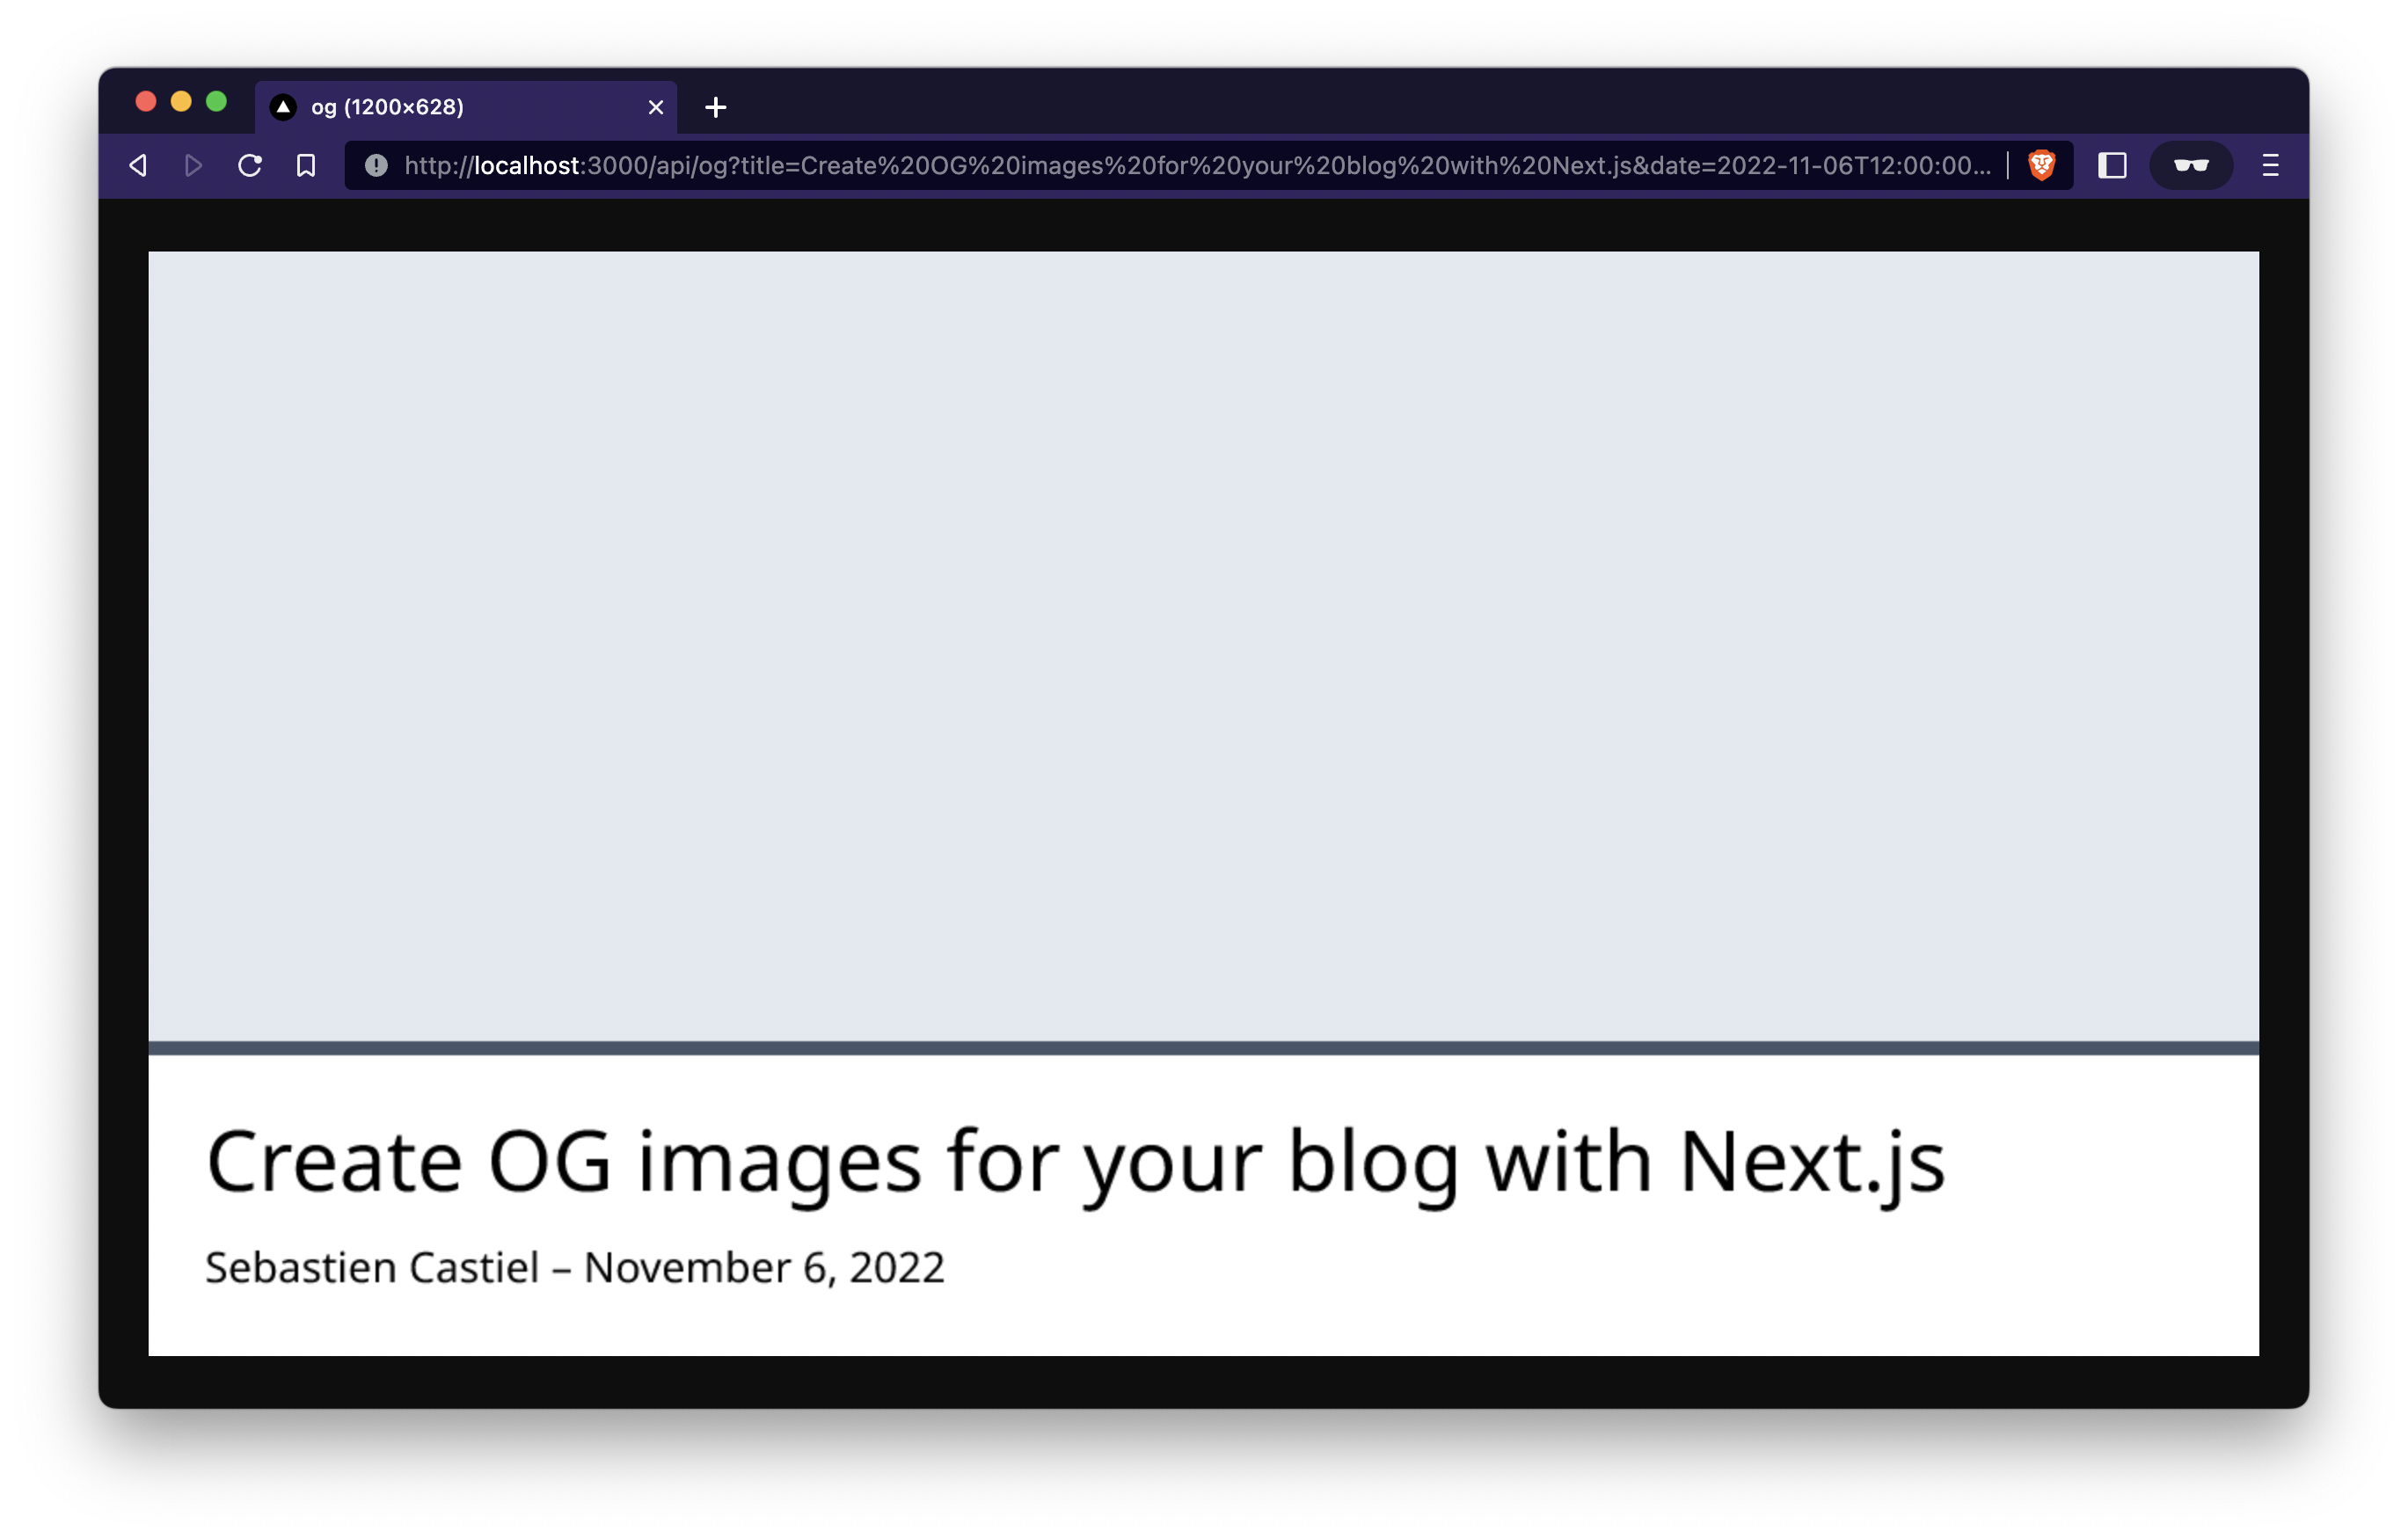
const date = new Date(searchParams.get('date') || '2022-11-05T12:00:00.000Z')And then, we can use these parameters to add them to the image, with some TailwindCSS classes to make everything a bit more beautiful:
  return new ImageResponse(
    (
      <div tw="flex w-full h-full flex-col justify-end bg-slate-200 items-stretch">
        <div tw="flex flex-col bg-white p-8">
          <div tw="text-5xl mb-4">{title}</div>
          <div tw="text-2xl">
            {author +
              ' – ' +
              date.toLocaleDateString('en-US', { dateStyle: 'long' })}
          </div>
        </div>
      </div>
    ),
    { width: 1200, height: 628 }
  )
}
Here is what this first version of our OG image looks like, with some parameters:
An image inside the image
This is nice, but it misses the most important thing we want on it: the cover image. Let’s add a cover parameter, and use it in an img element:
const handle = (req: NextRequest) => {
  const { searchParams, host, protocol } = new URL(req.url)
  // ...
  const cover = `${protocol}//${host}${
    searchParams.get('cover') || '/cover.jpg'
  }`

  return new ImageResponse(
    (
      <div tw="flex w-full h-full flex-col justify-end bg-slate-200 items-stretch">
        <img
          src={cover}
          alt=""
          tw="flex-1 w-full h-full"
          style={{ objectFit: 'cover', objectPosition: 'center' }}
        />
        {/* ... */}
      </div>
    ),
    { width: 1200, height: 628 }
  )
}
(To run the example, go get an image on Unsplash and put it in public/cover.jpg.)
Note how we use the host and protocol attributes from the request’s URL, as we need to use absolute URLs for img elements.
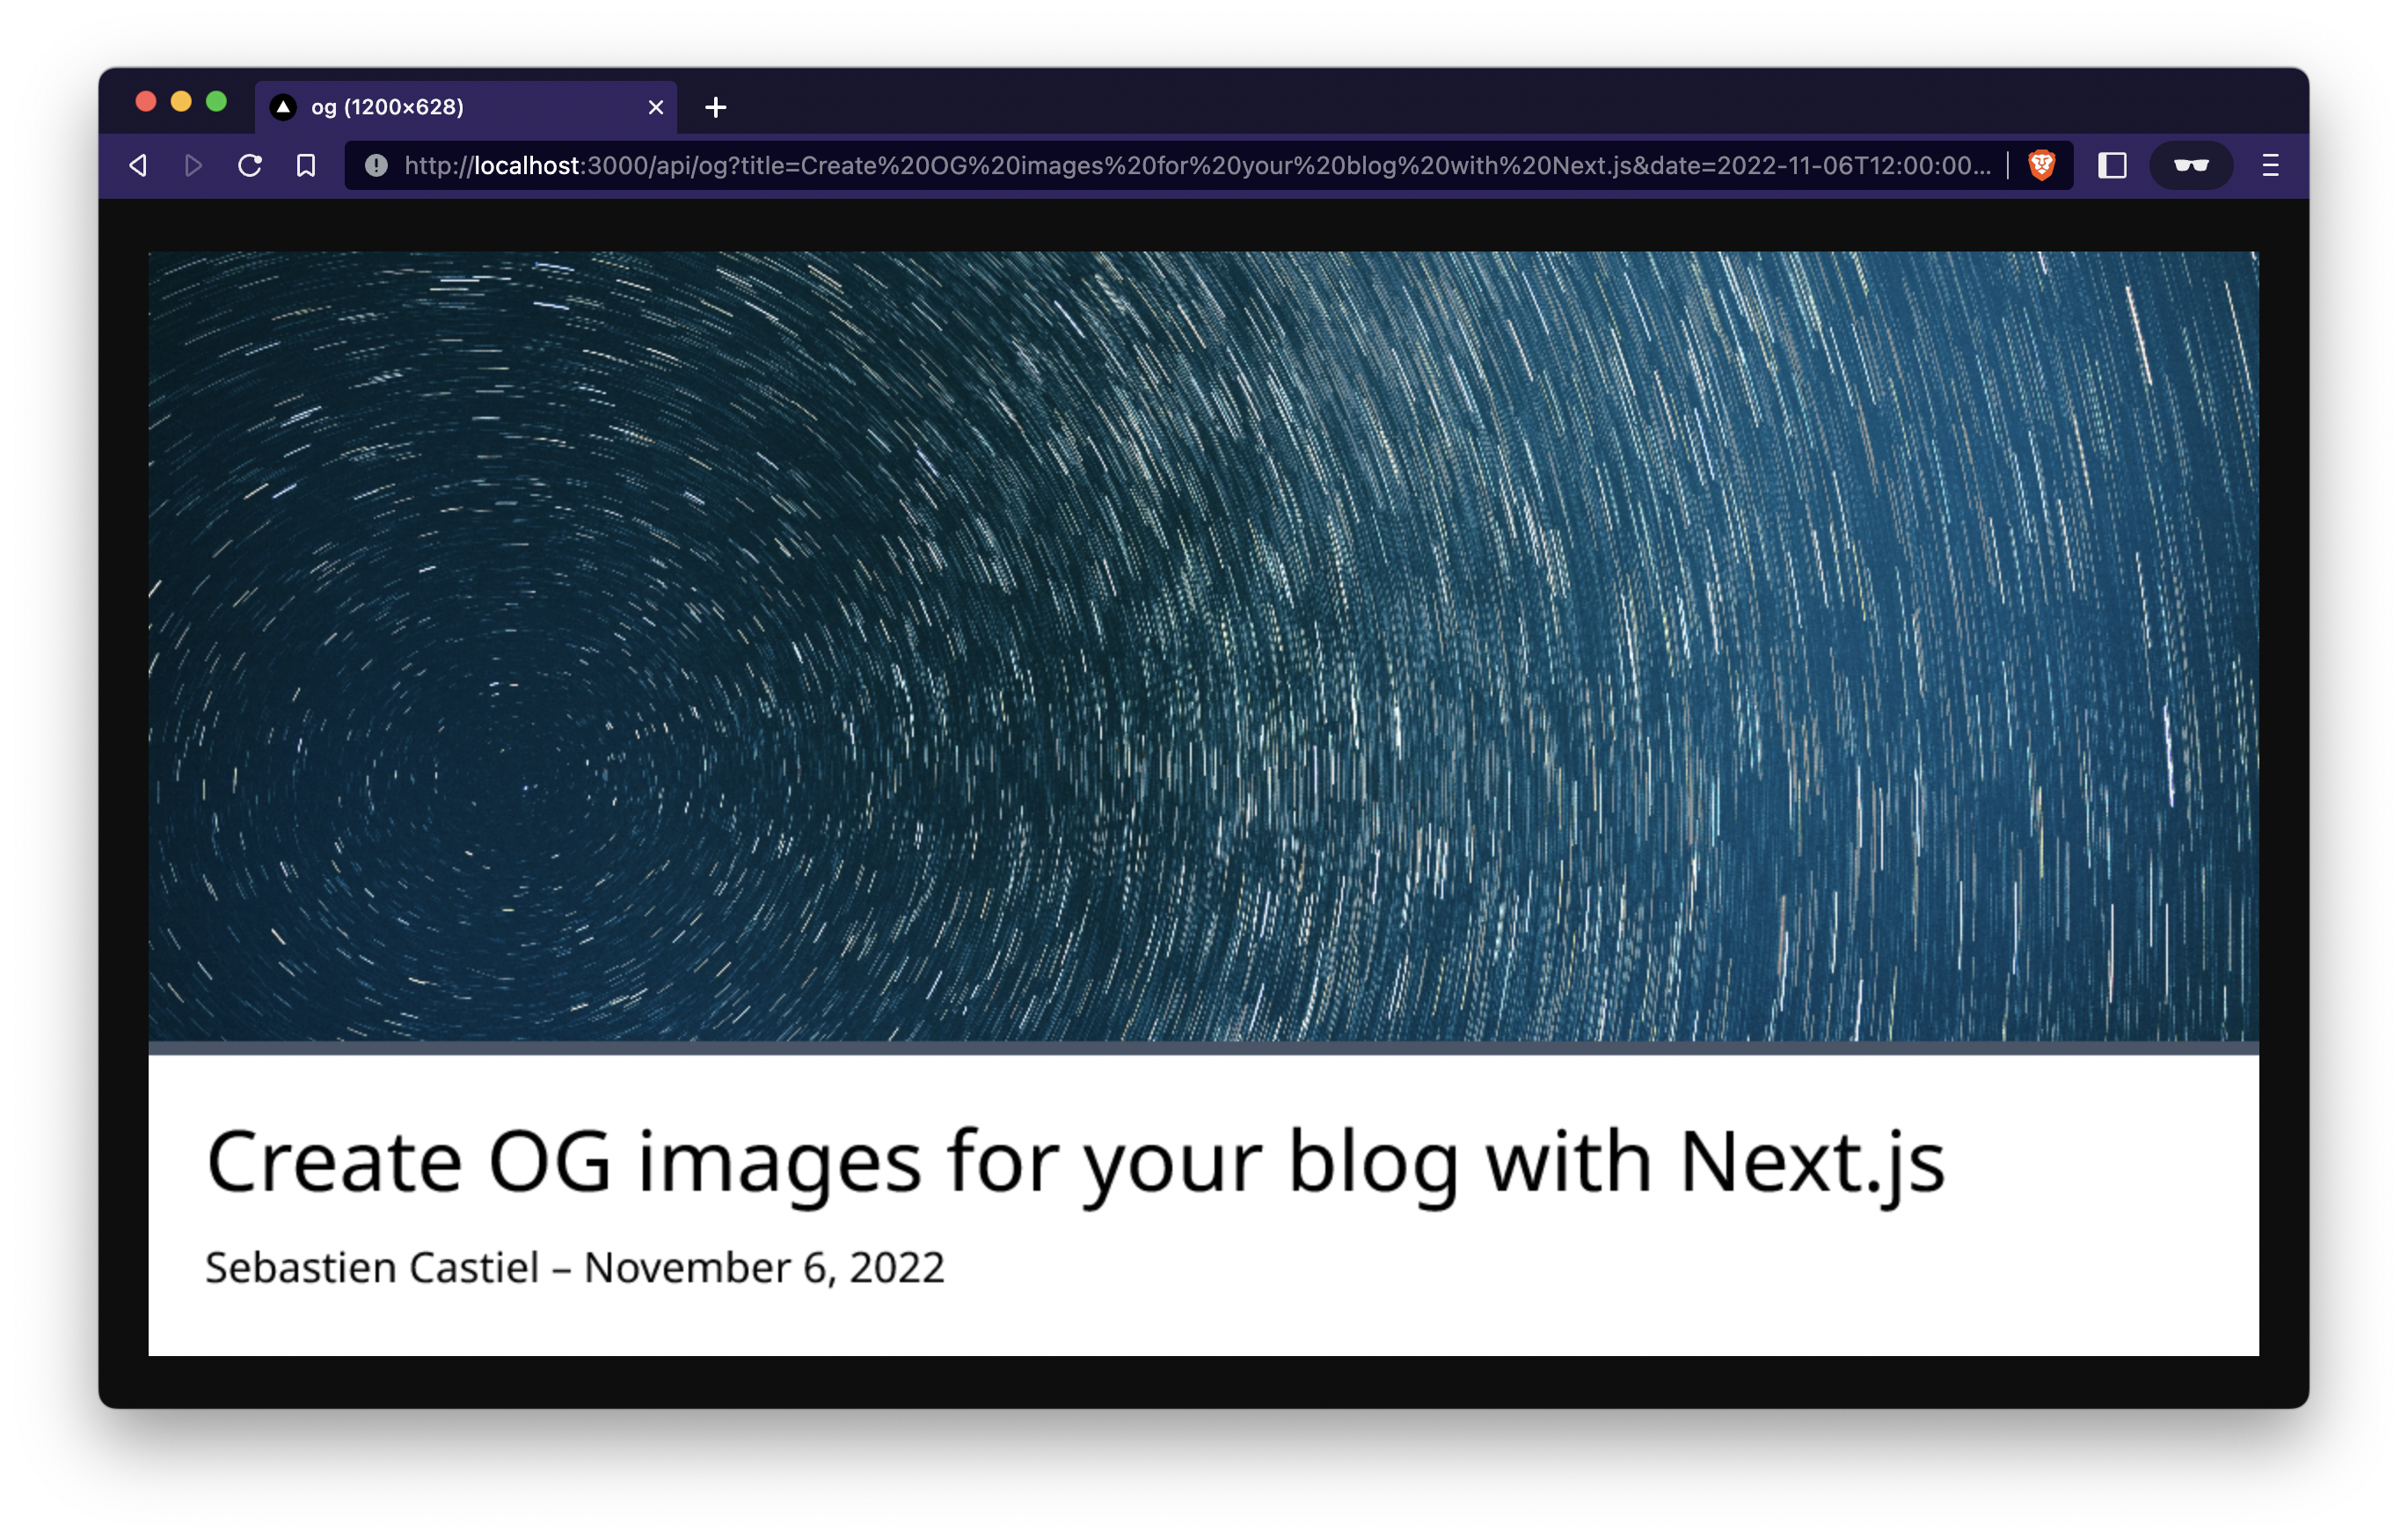
This second version is much more satisfying 😊… until we deploy it on Vercel. After deployment, if you call try to generate an image, you might get a blank image. In the Vercel logs, you’ll see this kind of error:
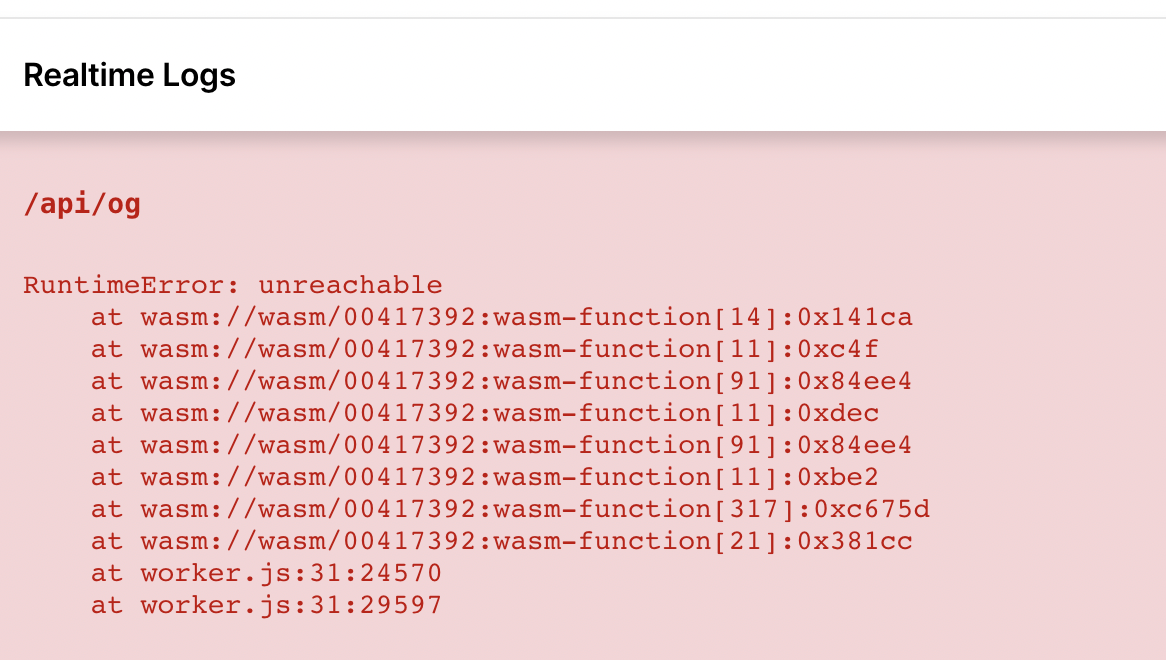
It isn’t obvious, but the issue comes from the cover image we want to include, which seems too big for @vercel/og at the time I’m writing this post. We could choose to use a smaller image, but it’s pretty annoying…
Good news, Next.js already provides an easy way to resize images. When using the next/image component, Next.js uses an endpoint at /_next/image. While we can not use the component, we can use the endpoint!
const cover = `${protocol}//${host}/_next/image?url=${encodeURIComponent(
  searchParams.get('cover') || '/cover.jpg'
)}&w=1200&q=75`
Add OG image to your pages
Now that we know how to generate our image, we can use it in the meta tags of the page headers. You can find the complete list of meta tags you need to define in Twitter documentation. I like using a custom component I built in many projects of mine: SeoHeaders.
If you are adding OG images to a Next.js blog, I assume you already have a component in which you know the post title, author, date, and cover image. You can build the OG image URL:
// It must be an absolute URL, so I use an
// environment variable for the base URL.
const imageUrl =
  `${process.env.NEXT_PUBLIC_BASE_URL}/api/og?` +
  `title=${encodeURIComponent(title)}` +
  `&author=${encodeURIComponent(author)}` +
  `&cover=${encodeURIComponent(cover)}` +
  `&date=${date}`
Then, you can pass this URL to the SeoHeaders component:
<SeoHeaders
  title={title}
  description=""
  author={author}
  twitterAuthor=""
  twitterSite=""
  url={process.env.NEXT_PUBLIC_BASE_URL}
  imageUrl={imageUrl}
/>
Or, if you add the meta tags by yourself:
<meta property="og:image" content={imageUrl} />
<meta name="twitter:image" content={imageUrl} />
Note that so that the image is used in social media, you need to specify the other tags: og:type, twitter:card, etc.
This concludes this tutorial about generating and using OG images in a Next.js application! Our image is pretty minimalist, but here are a few ideas if you want to improve it:
- Play with opacity options (using TailwindCSS class
bg-opacity-50for instance) instead of having a white background for the text. - Add the author’s avatar (using a second image).
- Add the description to the image, or an excerpt of it.
- If your blog allows comments or likes, you can add some counter to the image.
You’ll find the complete source code of the example Next.js application on this GitHub repo. Don’t forget to check out the documentation of Vercel’s OG Image Generation.
Cover photo by Noman Shahid.
Check my latest articles
- 📄 13 tips for better Pull Requests and Code Review (October 17, 2023)Would you like to become better at crafting pull requests and reviewing code? Here are the 13 tips from my latest book that you can use in your daily developer activity.
- 📄 The simplest example to understand Server Actions in Next.js (August 3, 2023)Server Actions are a new feature in Next.js. The first time I heard about them, they didn’t seem very intuitive to me. Now that I’m a bit more used to them, let me contribute to making them easier to understand.
- 📄 Intro to React Server Components and Actions with Next.js (July 3, 2023)React is living something these days. Although it was created as a client UI library, it can now be used to generate almost everything from the server. And we get a lot from this change, especially when coupled with Next.js. Let’s use Server Components and Actions to build something fun: a guestbook.